
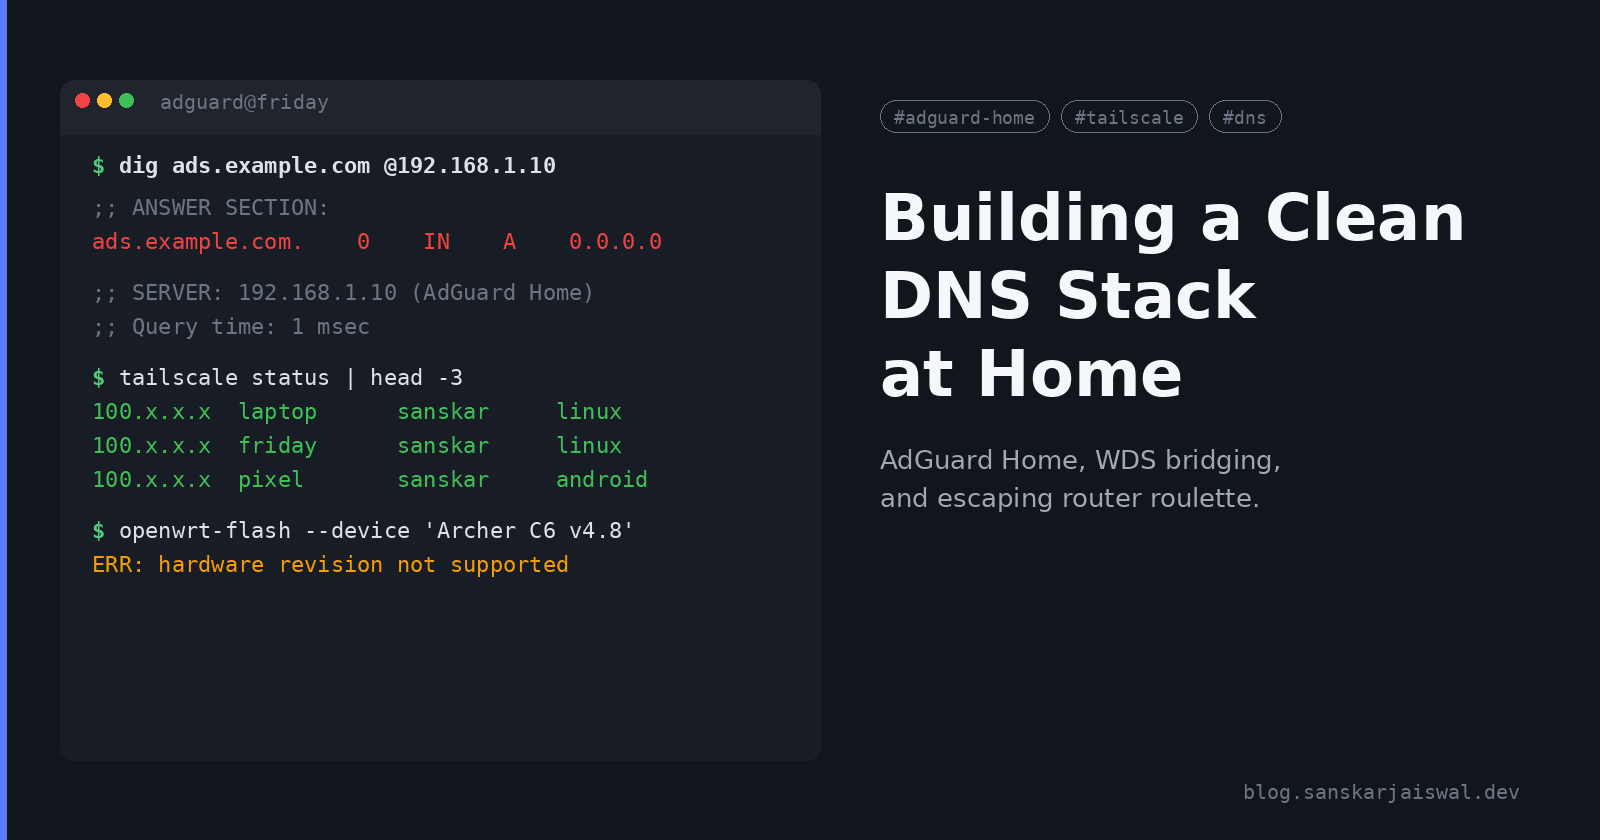
Building a Clean DNS Stack at Home
AdGuard Home, WDS Bridging, and Escaping Router Roulette
Home networking looks simple until you actually start touching it. What began as a straightforward plan to run AdGuard Home across the network somehow turned into a small odyssey involving WDS bridging, router hardware bingo, and a very short-lived optimism that a TP-Link device would cooperate with OpenWrt.
This is a summary of how the entire puzzle came together and what actually worked.
The Goal
The end state I wanted was:
AdGuard Home acting as the authoritative DNS for the entire network
A secondary router connected over WDS to extend the network cleanly
The ability to filter DNS traffic even when connected through Tailscale
Zero reliance on browser extensions
And ideally, OpenWrt somewhere in the stack to handle proper DNS hijacking
The idea sounded neat. The execution required a bit more patience.
Step 1: Getting AdGuard Home Running
The AdGuard setup was straightforward. Once installed on the homelab machine, it handled all DNS queries on the LAN. Even upstreaming through 100.100.100.100 (Tailscale’s MagicDNS), AdGuard continued logging and filtering normally.
This was expected behavior: MagicDNS only resolves queries for the client device, not AdGuard itself.
Once everything pointed to AdGuard, the network immediately felt cleaner. No ads, no trackers, and visible query insights.
Step 2: Fixing WiFi Coverage With WDS Bridging
This is where things got interesting.
To avoid pulling Ethernet across the house, I set up a WDS bridge between the main router and a secondary access point.
WDS worked surprisingly well:
Devices connected through the bridge still routed DNS requests to AdGuard
The network remained a single broadcast domain
No double NAT
Same SSID and smooth roaming
This part of the stack was the most cooperative, which is rare in home networking.
Step 3: The Quest to Flash OpenWrt
This part did not go as smoothly.
When I checked the TP-Link model on OpenWrt’s supported hardware list, things looked promising.
But TP-Link’s naming scheme is basically a puzzle:
Amazon labels it Archer AC1200
The actual device banner says Archer C6
OpenWrt lists support for specific revisions
The one in hand showed v4.8, which OpenWrt does not support at all
The enthusiasm lasted about ten seconds.
I learned (again) that:
TP-Link reuses model names across completely different chipsets
Hardware revisions often differ silently within the same listing
Flashing unsupported hardware is a great way to manufacture a brick
OpenWrt’s documentation is accurate, Amazon’s product pages are not
So OpenWrt was off the table for the TP-Link we had.
Step 4: Confirming AdGuard Works Over Tailscale
After the WDS setup and router disappointment, I finished the Tailscale integration.
Once the AdGuard IP was added in the Tailscale admin DNS settings:
Every device connected through Tailscale automatically used AdGuard
MagicDNS still handled internal
.localresolutionFull filtering worked whether at home or remote
Query logs remained consistent across both scenarios
This delivered the “private DNS anywhere” experience I was aiming for.
Final Network Layout
Here’s what the finished setup looked like:

Main router provides WAN and base WiFi
Secondary router connects via WDS bridge, extending WiFi
Both broadcast the same LAN
AdGuard Home sits inside the LAN as the primary DNS
Tailscale routes remote DNS queries back to AdGuard
Even without OpenWrt, the combination works reliably.
Closing Thoughts
The setup is a good reminder that home networking is equal parts planning and improvisation. The AdGuard portion was easy. The WDS bridge behaved surprisingly well. The router hardware roulette was less pleasant, but at least it revealed why OpenWrt still has a giant red disclaimer next to TP-Link devices.
In the end, I still achieved:
Clean network-wide DNS filtering
Remote filtering via Tailscale
A stable extended WiFi setup
Zero browser extensions
Full visibility into queries
As long as you choose your hardware carefully, this is one of the most practical upgrades you can make to a home network without major rewiring.